Microgreen Thumb

Introduction
“If at first you don’t succeed, try, try, again.”
– William Edward Hickson
These are the words ringing through my mind as I begin writing you this post. What was supposed to be an easy peasy project, turned into an epic failure LITERALLY overnight.
Being completely honest, I HATE to fail and I REALLY HATE when others have a front row seat to that failure. But, as tempting as it was to just sweep this one under the rug (and my God, was it tempting!), I decided that sometimes the best way to learn something new, is to fail horribly at it first. And let me tell you what, I failed HORRIBLY! LOL
The Plan
Microgreens are the latest trend sweeping across the nation. If you’ve ever been to a farm-to-fork café or a big city bistro, then you’ve probably come into contact with the little grassy garnish sitting on top your plate. Many of you probably discarded the clippings without knowing what you were missing out on.
According to Prevention.com “Findings from a University of Maryland study suggested that they may contain up to 40 times the nutrients of “true leaves” on a mature plant.” That’s a whole lot of nutrients that just got dumped off your plate and into the garbage!
Microgreens are full of vitamins and minerals that can aid in reducing the risk of cancer, support gut health, and aid in things like blood pressure and cholesterol. These tiny plants are packed with so much healthy goodness and are easily hidden in a sandwich, salad, or side dish. The best part? They are easy to grow, come in a ton of varieties, and are ready to harvest in a matter of days! At least…that’s what they said…
After learning all about these tiny superfoods, I decided to grow some on my own. I figured what better way to scratch the Spring fever itch (even though we’re still buried under snow), then to fill my kitchen with trays of homegrown greens.
The very next day, I got on Amazon and ordered a variety seed pack. I snagged a bag of dirt, some trays, and wood plant labels from our local Fleet Farm. Then, I rushed home and started counting down the days to delivery.


D-Day
Delivery day finally arrived! Sitting out of my front stoop, was a little brown box striped with the signature black and blue Amazon tape. I ripped open the box, let out an excited “EEK!”, and ran to the garage to grab my Fleet Farm supplies. My winter gardening project had begun!
I followed the directions to a T. I lined the trays with dirt and misted them with water until thoroughly damp. Then, I carefully ripped open each seed pack and evenly distributed the seeds on top of the dirt. This is the moment when I made my first mistake. I got cocky…
Microgreen Art
When I had finished dispersing the last of the seeds, I took one look at the beautiful assortment of seed babies and thought, “Wow! That was so fun and easy…what if I could do this as a business?”
There were big seeds, little seeds, round seeds, prickly seeds…it was actually an intoxicating sight. Especially, when it was all laced with the promise of almost guaranteed success!
I was suddenly so caught up in mental images of future me delivering bags of fresh, beautiful greens to local restaurants and farmers markets that I forgot to check the seed packs for next step instructions.
Instinctually, I began to cover each tray with a thin layer of dirt and a second round of heavy mist. That was mistake number two. When I finally peeked at the packs and noticed NOTHING about covering the seeds with dirt. I realized I was supposed to leave them bare.
I thought “oh well, I’m sure it will be fine. I’ll just move on to the final step: covering each tray so that no light could get in.” After I wrapped each one in tin foil, I lovingly placed them on my kitchen table to do their thing!

The All-Star Lineup
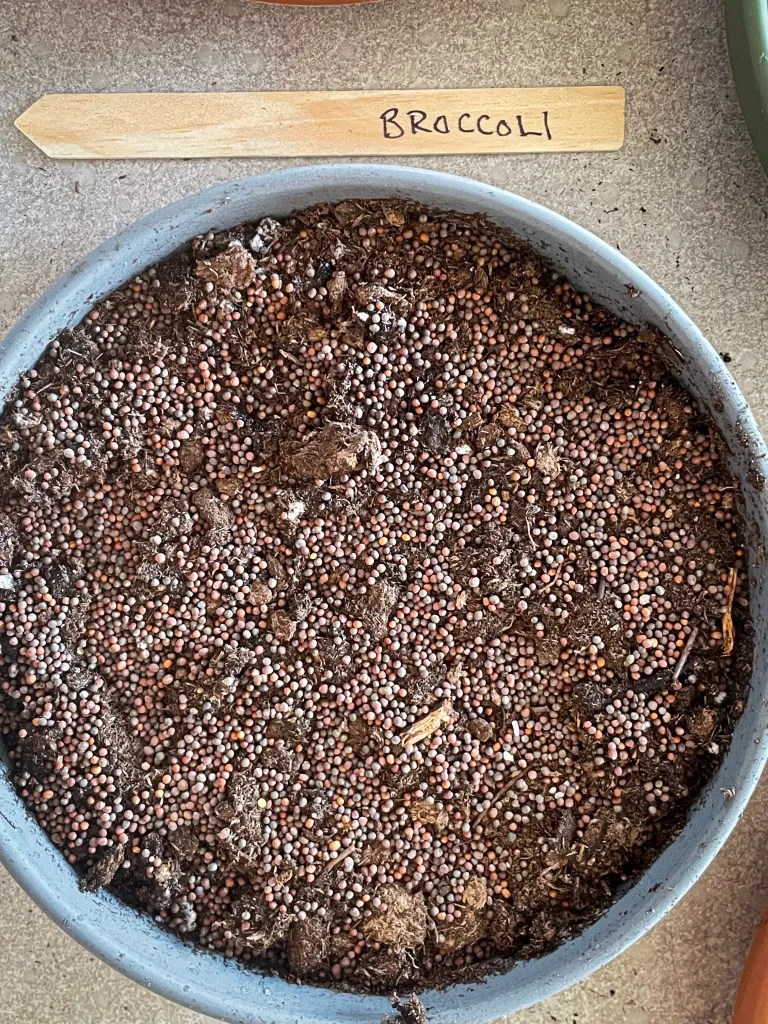
The Amazon variety pack I ordered contained the top 10 selling microgreen types; Broccoli, Radish, Peas, Cabbage, Buckwheat, Arugula, Sunflower, Kale, Beet, and Opal Basil. Below is a picture of each type BEFORE I committed mistake number 2 and covered them with dirt. See for yourself how captivating each work of art is…


Just Keeps Getting Better
Every morning, the first thing I did was check the microgreen babies. I uncovered each pot, gave a spritz of water, and then covered them again. By day 2, I started to notice some changes.
The dirt was getting pushed up and tiny sprouts were starting to uncurl from beneath the surface. The vibrant reds, greens, and purples were honestly breathtaking. The photographs you will see in this post are some of my favorite pictures taken to this day. So pretty!
If you suffer from garden impatience, the rapid growth and short harvest times of these plants are perfect for you! My kids absolutely loved seeing the changes each morning. Some days, they would check them more than once…each time, there was noticeable change.
By day 4 almost every tray was speckled with growth. By day 5, they were ready to be uncovered and bask in the sunlight. This is were I made mistake number 3!


Here Comes The Sun…Umm, Right?
Mistake number 3 was partly poor planning, partly acts of God. It just so happened that the entire week my microgreens were begging for light, our weather was dark and dreary.
In fact, at one point, I came home to find my poor microgreens HURLING themselves towards our windows. It was at this moment that my microgreens became affectionately known in our house as “The Diva Sprouts.”
Don’t let our pet plant name fool you, though. Microgreens are actually NOT the same as “sprouts” and don’t carry quite the amount of caution when eating. For more information about the difference between microgreens and sprouts, check out this great Microveggy article! Very insightful!
The Diva Sprouts Strike Again
Mistake number 4 was naming my microgreens The Diva Sprouts. After that day, the micro-melodrama was entertaining to say the least. One day they couldn’t get enough water, while the next day it was too much.
Then, despite closely monitoring the soil dampness, a few of my lovelies decided to grow mold. That’s when I threw in the towel. Though microgreens are much safer than sprouts because microgreens are harvested ABOVE soil level, they still pose a risk of bacteria…usually after developing soil issues like mold.
I decided to err on the side of caution (food poisoning just isn’t on my list of to-dos today) and dispose of my project. Literally within one day of neglect, The Diva Sprouts gave up ALL hope and, very dramatically, died.


Conclusion
Though The Diva Sprouts are lost, they will not be forgotten. I enjoyed the time we spent together, even if half of it was head scratching.
Will my 5 minute microgreen farmer day dream prevail? No, probably not. I don’t think I’ll ever be a “Diva Sprout” restaurant supplier. But, it was fun while it lasted and I learned A LOT!
Next time, I will NOT get cocky and cover the seeds with dirt. I will also make sure they have access to a more reliable source of light, such as a grow light, and be VERY careful not to overwater.
In addition, I will also add an oscillating fan in an effort to reduce the risk of mold and toughen up the stems so they don’t “weep” over the edge of the pot.
I’m definitely not a microgreen expert and have a lot left to learn. But, I’m not afraid to try again (I may have already ordered replacement seeds…LOL) and maybe even fail again!
Gardening is a constant learning adventure. You’ll never be able to learn all there is about growing food. Maybe, just maybe, before I can grow a green thumb, I need to grow a micro-green thumb first. WINK!
Stay tuned for more microgreen adventures coming soon!
Until then, check out these other garden inspired posts, only at Messy Masterpiece Blog…